
Most high-quality VPNs offer a wide variety of server locations to choose from. Once you’ve selected your preferred area, your device’s internet traffic will be masked using the new server’s IP address.
Before you begin, make sure that your router supports a VPN. If not, you’ll need to flash it with a different type of firmware (more on that below). Also, be sure to bookmark your router login info.
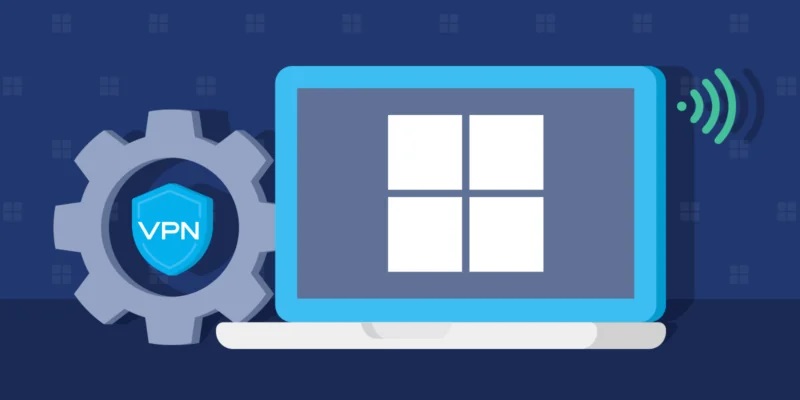
Windows
The best VPN provider you choose should have versions of their software available for Windows computers. This is important because many people have several devices and operating systems on which they need to be able to connect to the VPN.
Once the VPN software is installed, you must configure your computer/laptop to connect. The easiest way to do this is by using the Settings app. You will need to know the name of your VPN server, what type of protocol it operates, and the username and password for the account. Your VPN provider will typically provide these details or your employer if you’re connecting through work.
In the Settings app, click the ‘VPN’ icon. On the next screen, select ‘Set up a new VPN connection.’ The first field will ask you what kind of VPN you want; we recommend choosing ‘SSTP.’ This is the most straightforward and secure option.
On the next screen, enter your information for the connection. You will need to know the name of the VPN server, which is usually an IP address or domain. You can enter the public IP address if you don’t have a part. On the final screen, you can check ‘Remember my sign-in info’ to have your computer save your username and password. This makes it much easier to connect to your VPN in the future.
Mac
A VPN for Mac allows you to build a secure connection between your computer and another network over the internet. This is particularly useful for public Wi-Fi, as it prevents hackers from intercepting your information. A VPN protects your privacy by encrypting your data so only the intended recipient can read it. You’ll want to look for a VPN that doesn’t keep records of your online activity or your Mac’s IP address. Additionally, you’ll want a VPN that uses at least AES-256 encryption. Finally, you’ll want a kill switch to prevent accidental disconnects.
Once you’ve chosen a VPN service, head to the provider’s website and find the download for your Mac. Follow the instructions to install and run the app. If you’re using a paid VPN service, you may need to enter the server address and account name provided by your system administrator.
Alternatively, you can set up an L2TP/IPsec VPN connection via the network configuration menu in the System Preferences app. To do this, open the menu and select “Network.” Click the + icon in the Network preference pane to create a new VPN connection. Then, select “L2TP over IPsec” from the list of VPN types and enter the server address, account name, and authentication settings. You can also add a shared secret to the connection to improve security.
Android
A VPN lets you use the internet without worrying about cybercriminals stealing your data. It maximizes privacy and security by sending your encrypted web activity through a tunnel to VPN servers worldwide. It also hides your device’s IP address to keep your online activities anonymous.
If you’re using a subscription-based VPN service, it typically offers an app that makes setting up and connecting to your VPN very easy. If you’re not, you can manually change your network settings to configure a VPN connection.
Open the Settings menu on your Android device. Tap Network & Internet and then tap More. Tap VPN.
Enter the server information provided by your VPN provider, including its name, username, and password (if required). Tap Connect to start your connection. Wait a few moments until the VPN status changes to Connected.
You can also create a VPN profile on your router if you have an older device. The method varies between different routers, but the process is generally similar. You’ll need a working VPN configured on your computer or mobile device. You’ll need to know the password and encryption type used by your VPN and then add the profile on your router via its web GUI or an app like OpenVPN Connect. This will allow you to access your device’s private online activities even when your internet is unreliable.
iOS
It’s no secret that government agencies, corporations, and cybercriminals are after your personal information. While antivirus software can help secure your devices, you must go further to ensure that all the data traveling from and to your machine is completely encrypted. That’s where a VPN comes in. A Virtual Private Network creates a tunnel that all the data passing from and to your iPhone will go through, hiding all digital information behind it.
Setting up a VPN connection on your iOS device can be done in just a few steps. First, you must choose a VPN provider and sign up for an account. Once you’ve created your account, you can download their native app from the App Store.
Specify the VPN server address, username, and password. Once you’ve entered all the information, tap “Save” to save your configuration settings.
Try a few different servers if you’re having trouble connecting to your VPN. It would help if you were also sure you aren’t using any other apps simultaneously that could interfere with your connectivity. If these things don’t work, contact the VPN’s customer support team for more assistance. If the problem persists, uninstall and re-download the app to see if that fixes the issue. This has been known to fix connectivity problems for some users.

